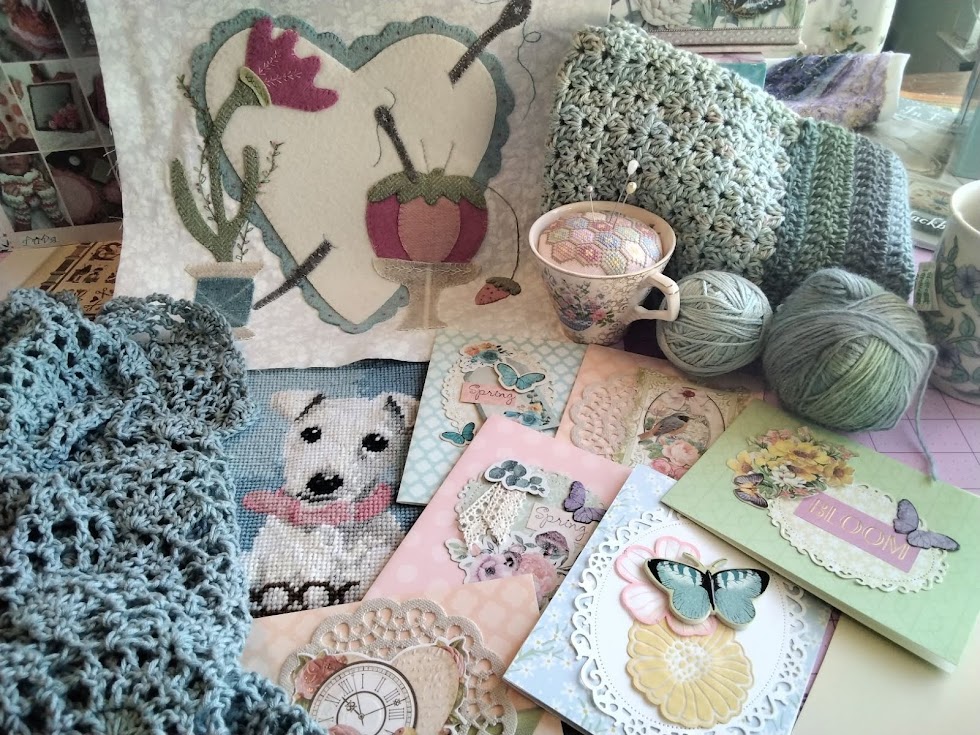
I started off with a chart from this blog. There are lots of lovely things there! I altered the chart a bit, leaving out the April 1 part. I matched the floss to the fabric. I do wish now that I had stitched it on a lighter fabric.

Next I ironed on some interfacing, to prevent the fabrics from fraying when I cut the hole for the grommets:


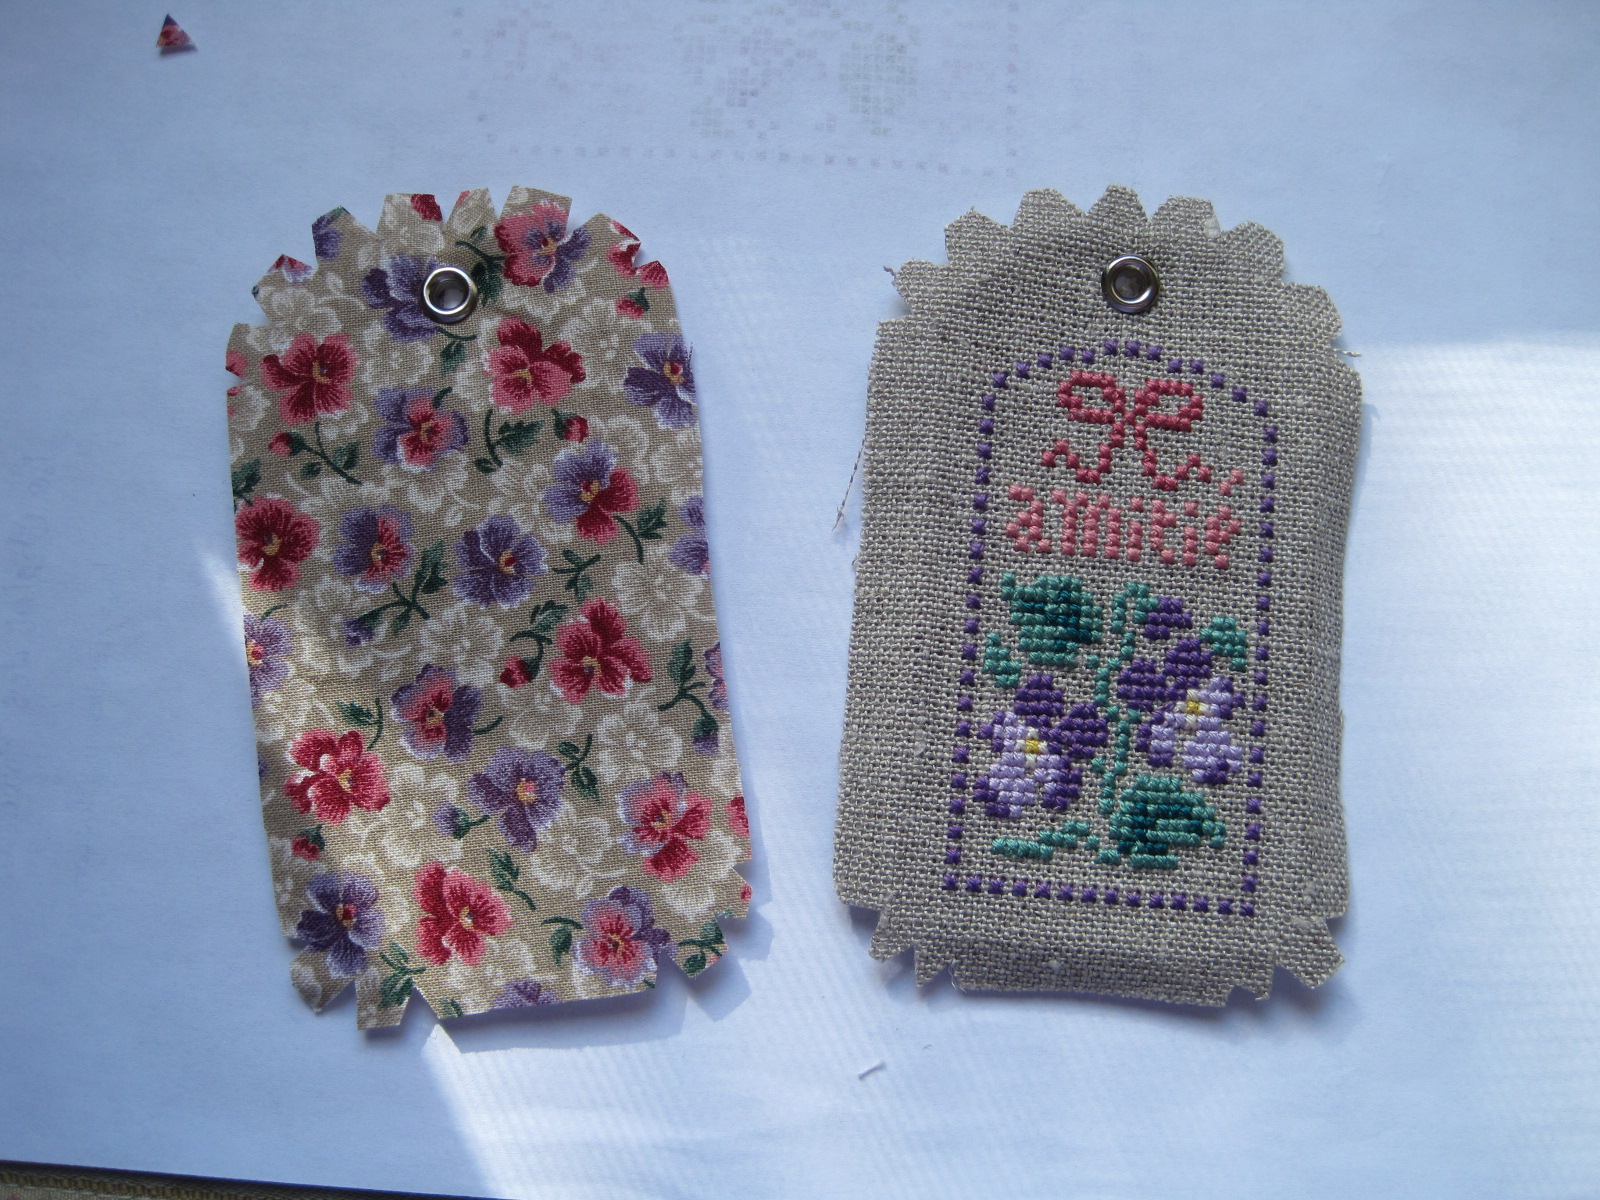
The next step was to centre the fabric over the tag shapes; cut some holes to match the ones in the tags and insert the grommets. To secure the grommets I used a grommet tool from the fabric store. You put the grommet in the hole, then insert the item between the tool and squeeze. This secures the grommet to whatever you want.
I used white glue to secure the fabric to one side of the cardboard. Clothes pins held it in place while it dried. Probably over-kill with the pins, but I wanted every part to stick!
I didn't use hot glue - even though it would have been faster - because it adds too much bulk between the layers.

Here we are all glued in place:
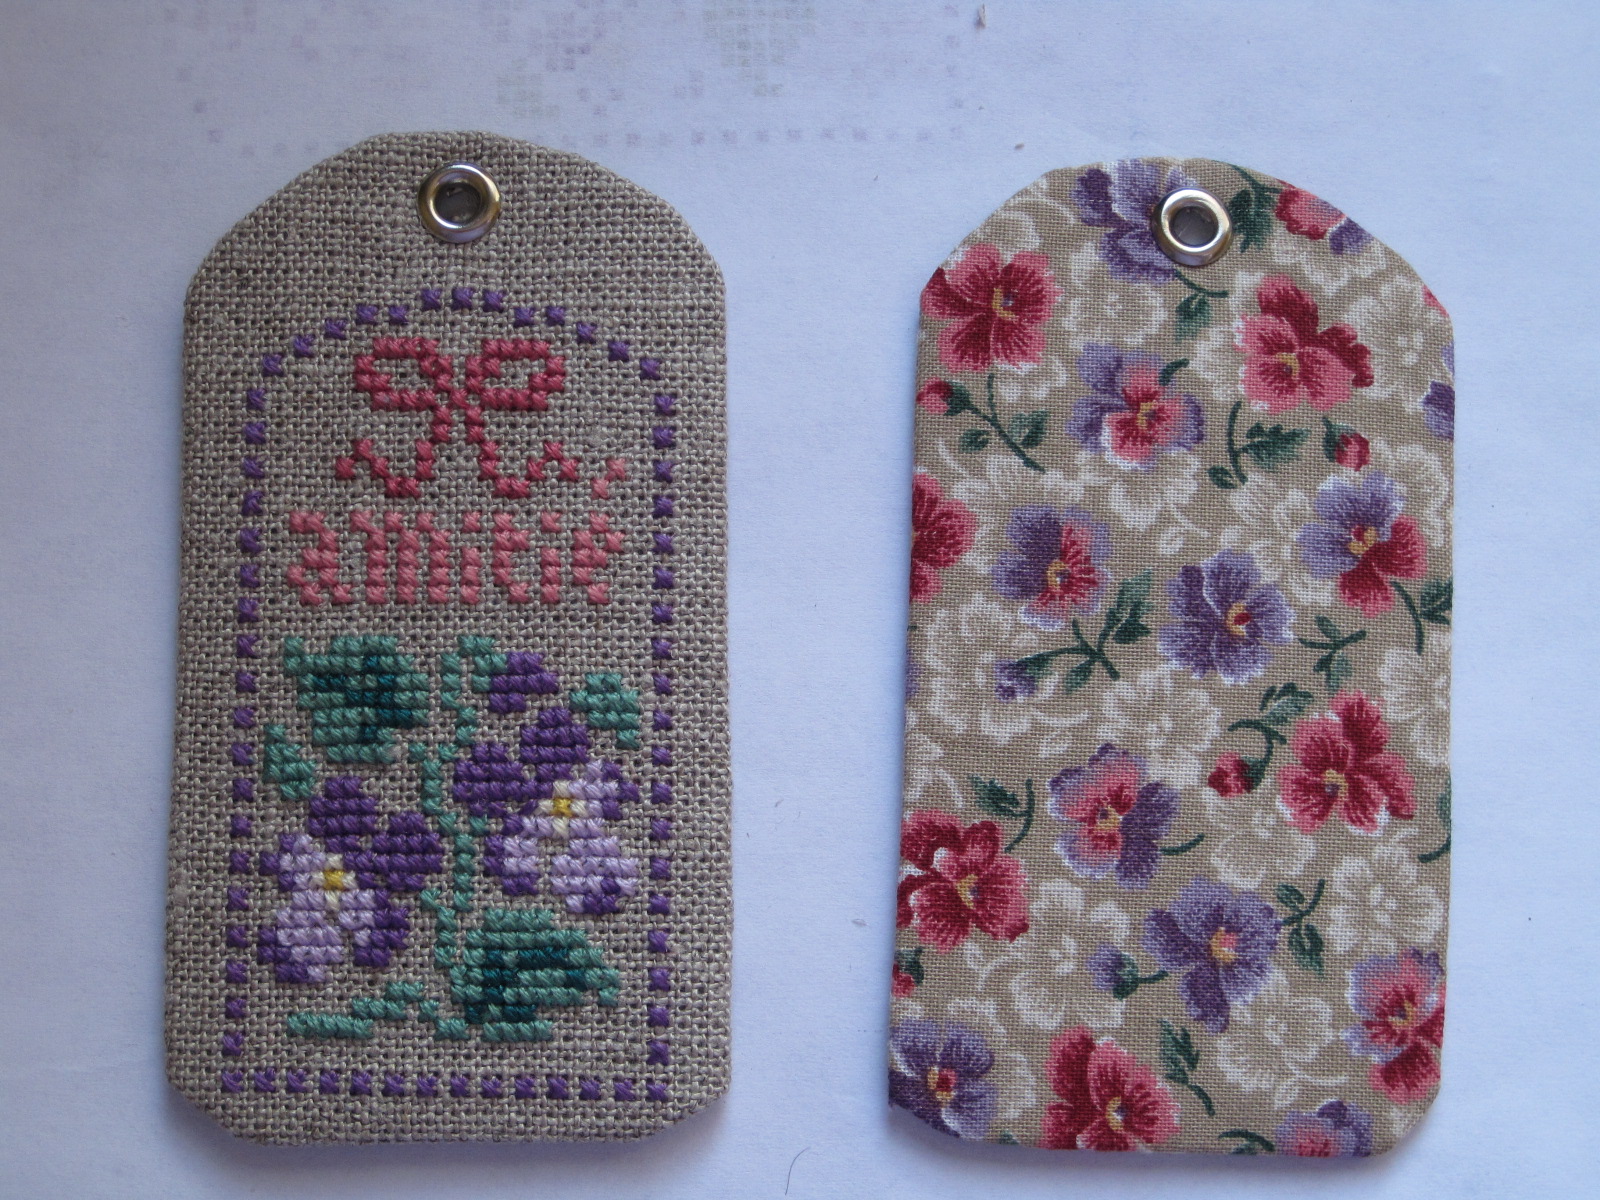
Next I put the wrong sides together; matched up the grommets and stitched the two pieces together by catching threads on each side:


I didn't think the seam looked too bad, so I did not cover my stitching up with ribbon or trim. You could though, and you could certainly glue the pieces together and glue on some trim to hide the seam.
Et voila, my first floss tag:
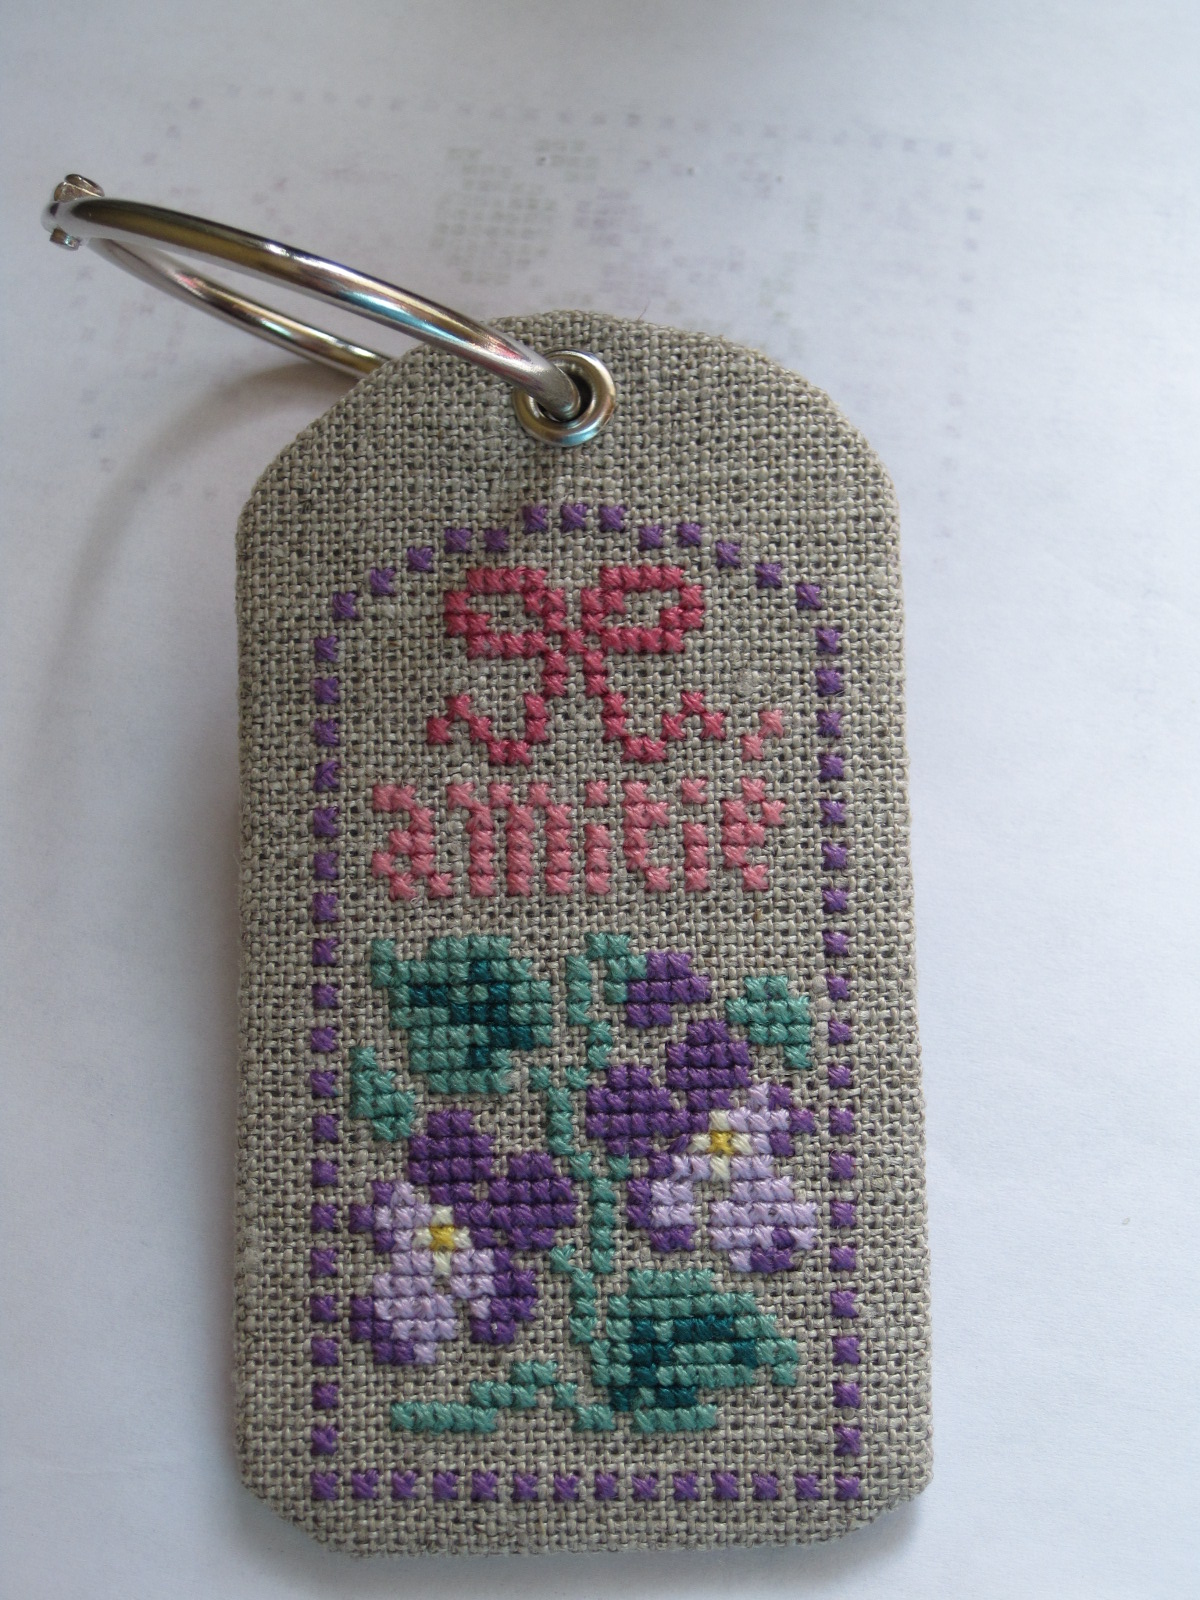
I hope you enjoyed the tutorial!
Jenn
No comments:
Post a Comment